There, Feminine sounds a lot nicer than “Super Girly” which was the working title of the top when I picked the fabrics haha. Over the weekend I made my second Ruby, and I am pleased to say that it did turn out a lot better than the first one. Sadly though, bad lighting and I can’t get a good indoor shot of the dress. It’s trying to blend in to the door!
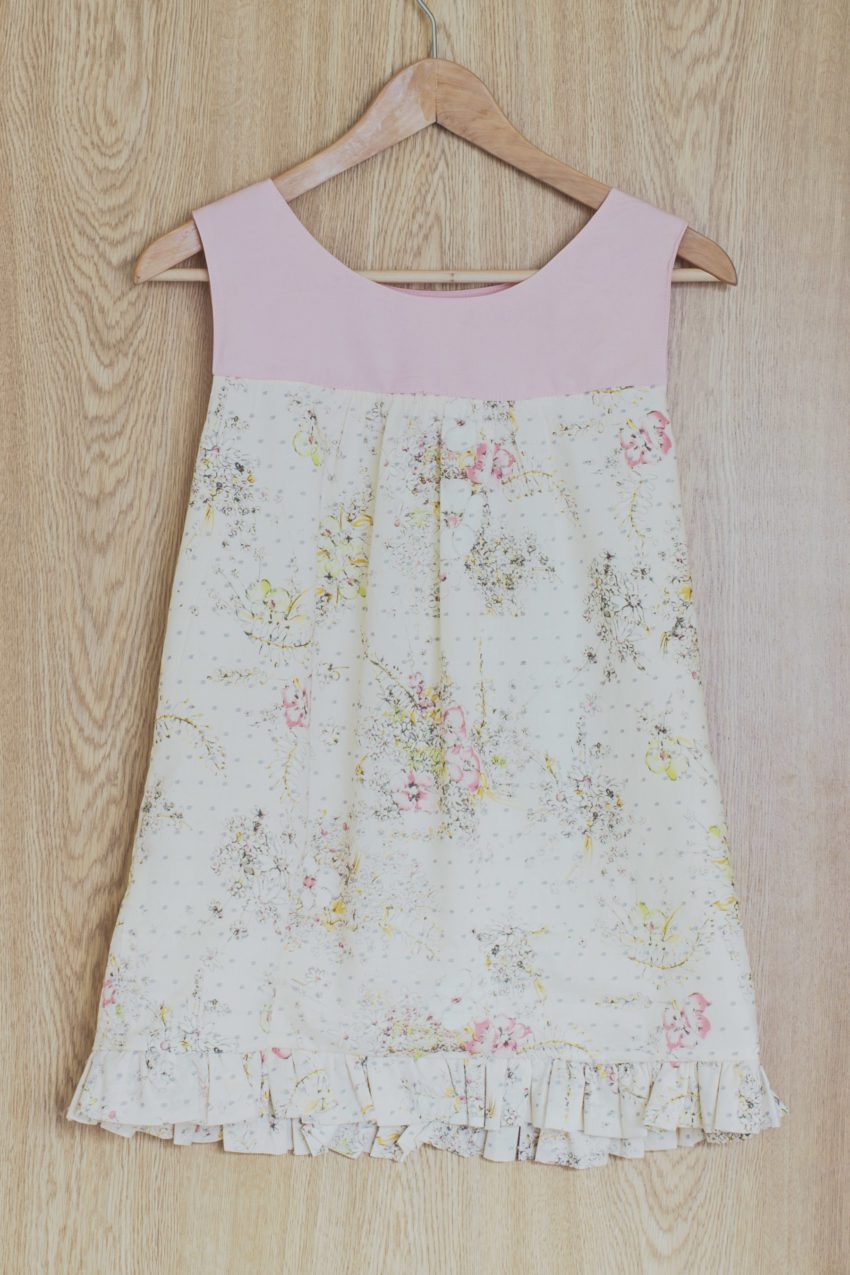
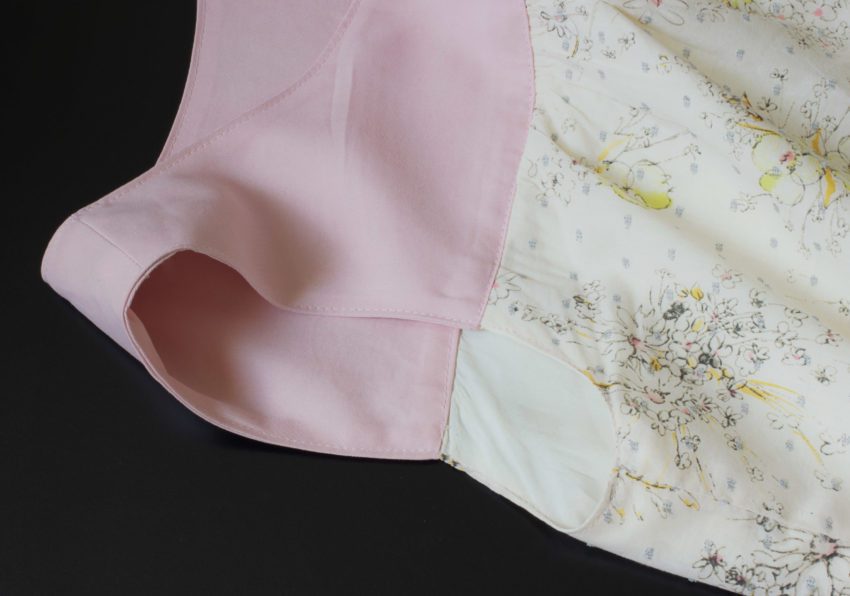
The biggest difference in the quality was that this one is fully* lined, so I didn’t have to futz with the bias binding. The construction of the lined yoke was fun, and the “sausage method” works really well as long as you don’t accidentally catch anything in the seam (I didn’t, but I had a close call!). My brain wasn’t working when I was doing the skirt part though, and I wound up gathering the outside and the lining separately. It worked out in the end, but I would have prefered not gathering the lining at all. By the time I realized my original plan wasn’t going to work, it was going to be a lot of effort to trim the lining the proper way, so I just winged it.
This top doesn’t puff out in the tummy quite as much as the first one, but it does still do it a little. At this point I’m not sure why it’s happening, but now I need two belts, a red one and a white one. A shopping trip is in order!
One custom touch that I added was to add a ruffle to the bottom. Apparently I thought the fabric wasn’t feminine enough, so I had to push it over the edge. I cut two 5″ strips of fabric from selvedge to selvedge, folded them in half length-wise (wrong sides together) and ran a gathering stitch across the raw edge. In retrospect I should have done two, but laziness prevailed. I gathered each strip to the length of the front/back, then seamed them together prior to attaching it to the bottom of the top.
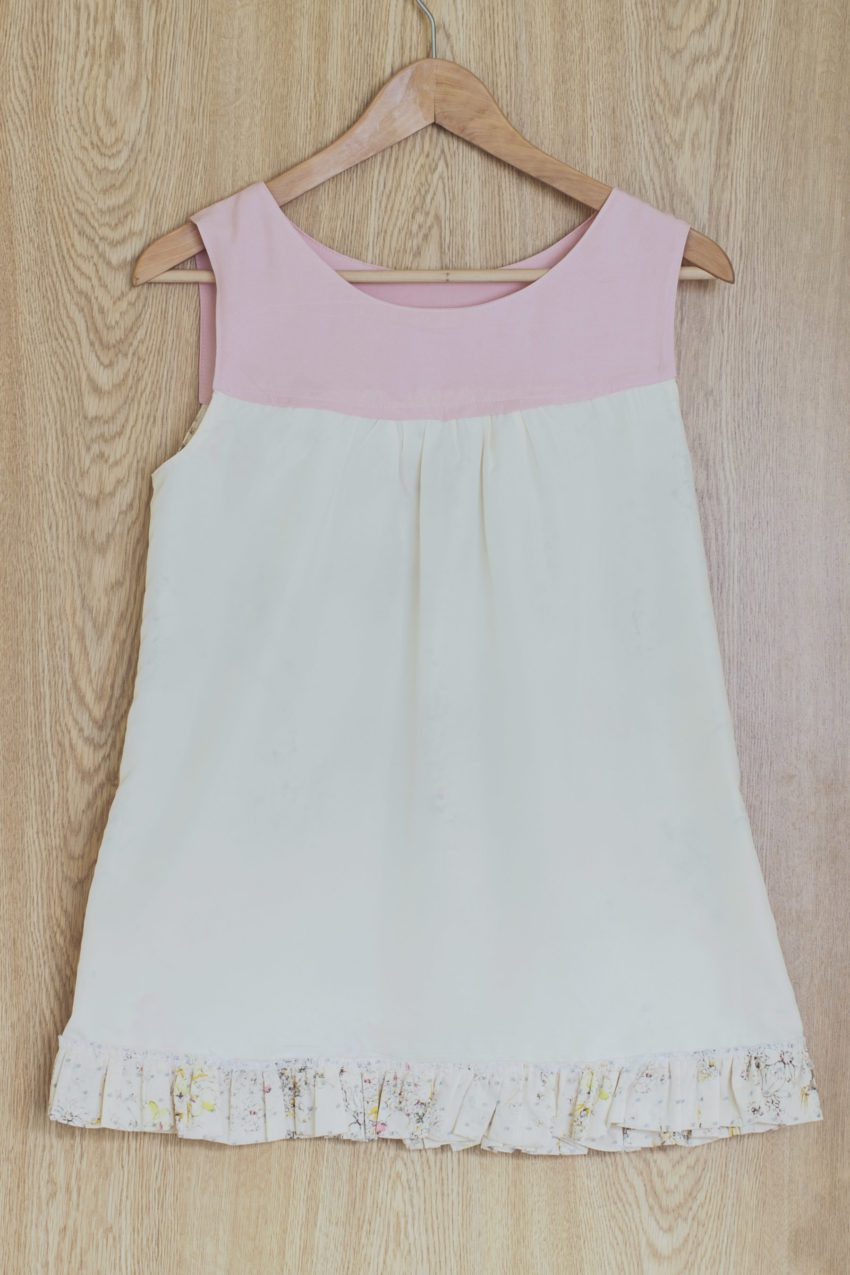
I had wanted to fold over the lining and attach the ruffle the same way the skirt is attached to the yoke (it’s such a gorgeous, clean finish), but the lining wouldn’t hold the fold very well, so I just attached the ruffle normally to both the outside and lining together, and serged the edge so it wouldn’t unravel too badly.
Speaking of the yoke/skirt attaching, laziness prevailed there too. I really wanted to finish the top in time to wear it out on a date with my boyfriend Saturday afternoon, so I didn’t have time to fight with a million pins and handstitch the backing down. So I lined everything up, and used some fusible webbing on the back to stick it all together. It worked brilliantly. I topstitched across the join, armholes and neckhole because it just didn’t look complete to me without it.
In the videos Rae made about how to line the yoke, there’s a note that’s not in the video itself, and it’s really important. She says to add 1/4″ to the arm and neckholes when using this method. I, of course, didn’t notice until after I had cut everything out. In my case, it’s not super vital to add it to the neckline, but the armholes are a must. The top is a teeeeensy tiny bit tight in that area. But Kevin and I are about to start Operation: Super Sexy this week, so I think once I drop a couple pounds it won’t be as bad. But still, add that quarter inch if you do it!
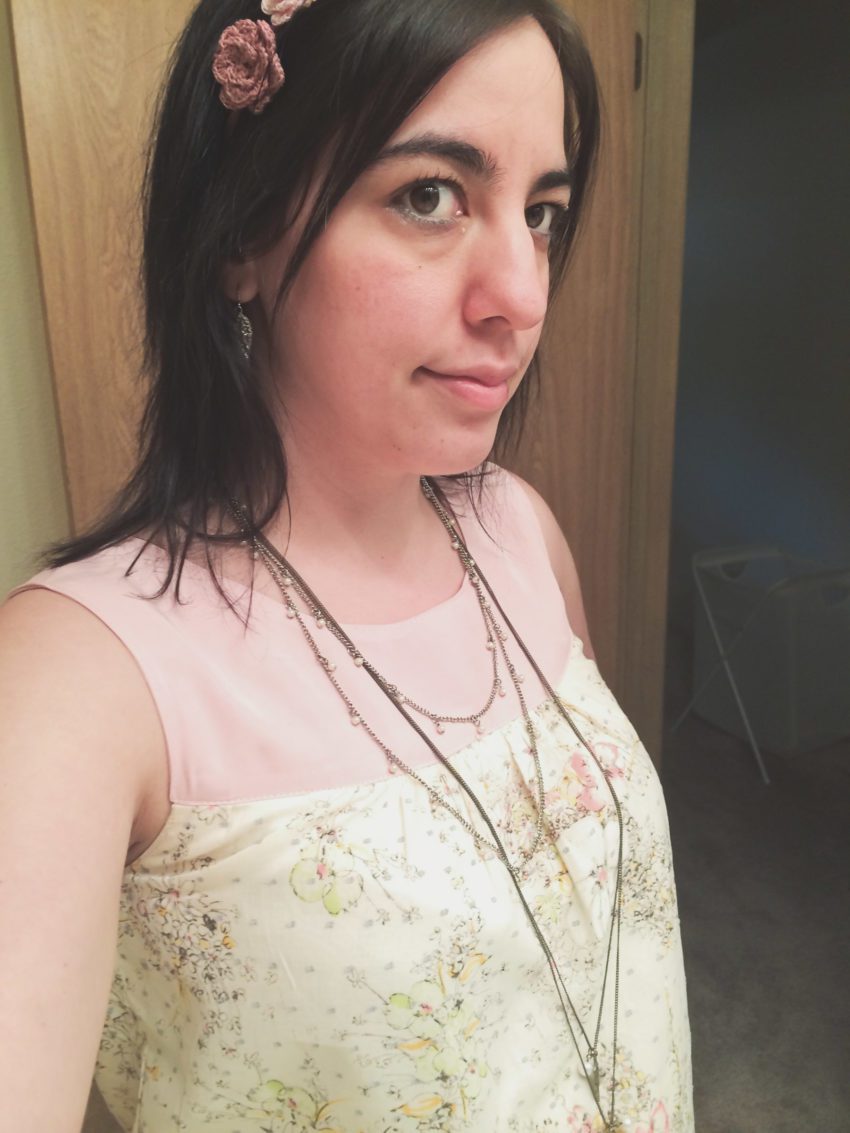
I did finish the top in time to wear it out to Pike Place with Kevin! I paired it with some pink jewelry and a headband that I got as a gift and was ridiculously adorable. I almost didn’t feel like myself, I’m usually a jeans-and-teeshirt kind of gal. But it’s Springtime, and I really love spring dresses and cute tank tops when the weather is warm, so sometimes I indulge :D
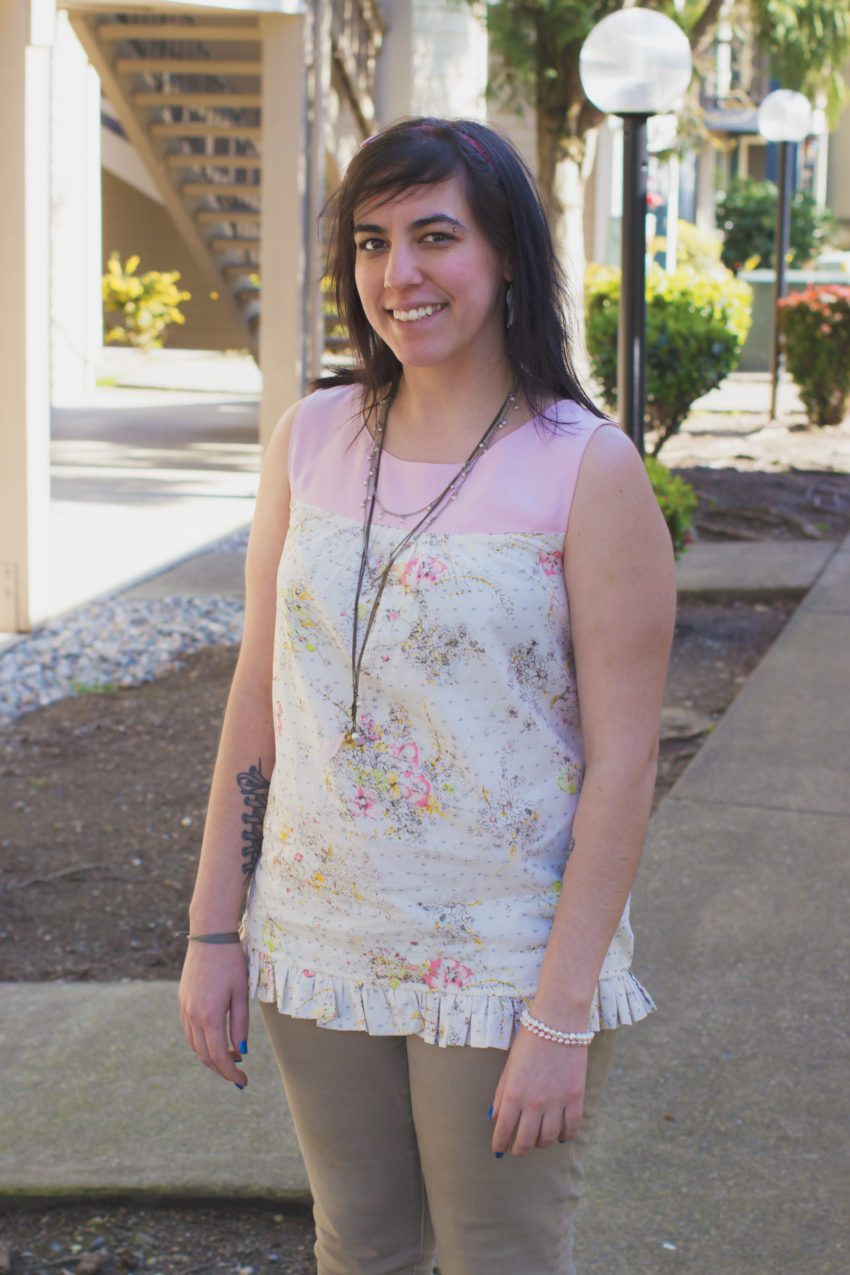
Kevin took the above photo, and here’s a terrible cellphone bathroom selfie that shows part of the headband (because it’s precious and I love it):
I’m really pleased with this top! I’m getting more comfortable with the idea of garment sewing now too, and I think I’m almost ready to tackle something a little more complex. But not much… babysteps! I’ve had Washi (another Made By Rae pattern) in my library for a while, but I also have a couple really cute Anna Maria patterns, not to mention an impressive collection of new Butterick/McCall patterns coming in the mail (…what? They were on sale for $3!). Sunny weather makes me a dreamer.

Leave a Comment