After having made a loaf of white bread, I decided what I really wanted to do was make sourdough, because it’s my favorite kind of bread in the whole world. Who doesn’t love a little sour tang with their butter?! And apparently, sourdough is really good for you if you have blood sugar issues. I don’t have anything serious, but one day I will (most likely, my genes say) and I try to at least make a mild effort so when the day comes that I have to, it’ll be a smoother transition (in theory).
Anyway. In order to make sourdough, one must have a sourdough starter. I did some research about various ways to get one. Many of them involved knowing someone that already had one and mooching some from them. That wasn’t going to work. Others involved buying some cultures online. I didn’t feel like buying one because the good ones are more expensive than I felt like spending on something that I’d probably only use once because I’m lazy/have a short attention span. I found a couple methods to make one with flour, water and a package of instant yeast, but that felt like cheating.
Then I found it: a method for making a wild yeast starter! It sounded pretty cool, and being one that likes to jump in with both feet, it seemed like a good way to do something a step above what I probably should have been doing. The post I found is on The Fresh Loaf and there’s a lot of useful information. Most of it is in the comments though, and tough to read through. So I had some trouble at first. But now I have a pretty good starter, I think!
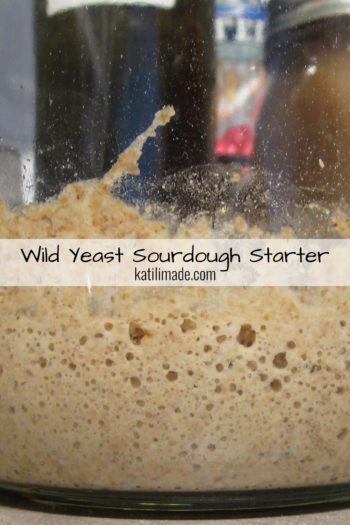
First, you start off with the freshest wheat and rye flour you can get. I bought whole berries and ground them myself. It took a long time and lots of pulsing through my Magic Bullet, and my “flour” didn’t wind up as fine as it should have, but it did the trick. After 3 days, this is what I had:
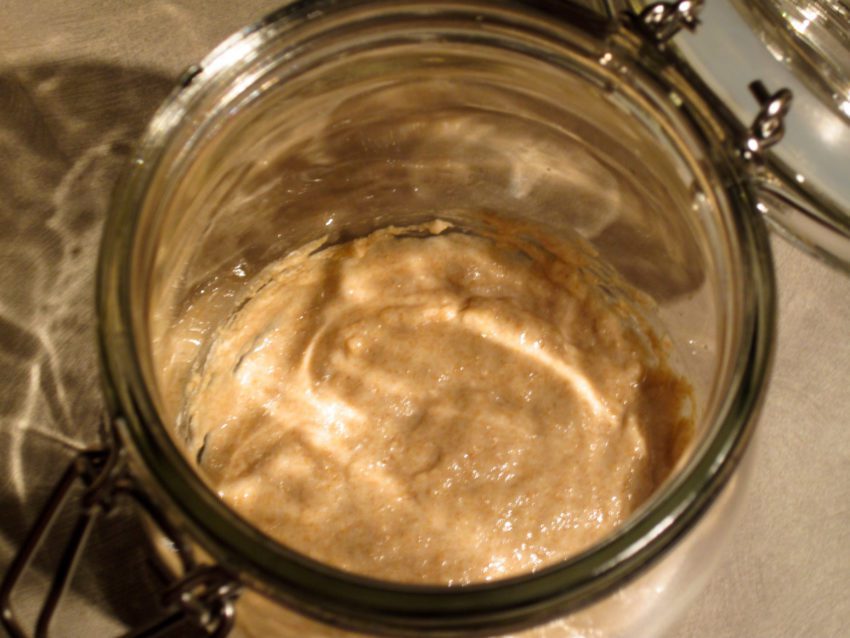
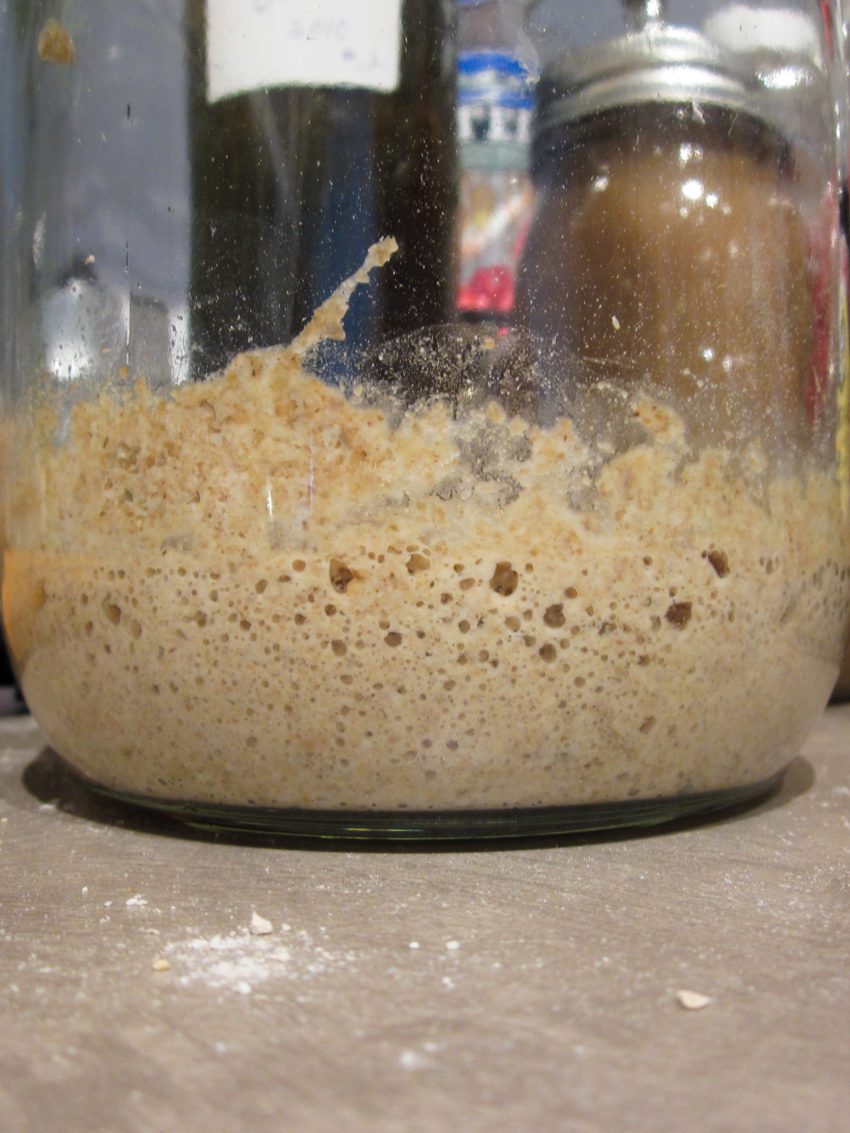
Looking back, it occurs to me now that my mixture was a little watery, but it turned out okay in the end. After the first few days of adding the wheat flour and pineapple juice to the starter, it’s time to start regular feedings. Here’s where I went a little wrong… because I don’t read things. Somehow, I missed the part about discarding down to 1/4 cup of starter, and after a few days my mason jar was about half full.
Turns out when you’re feeding a starter, it’s mostly a 1:1:1 ratio. So when I was feeding my 1.5 cups of starter 1/4 cup of flour and 1/4 cup of water, I was starving it. I couldn’t figure out why my starter was never rising after 2 weeks. It was bubbling like it was supposed to, and it smelled pretty close to right (though a little more booze-y than I expected), but it just wasn’t rising. I was thinking that meant I didn’t have enough yeast or something, so I started reading more.
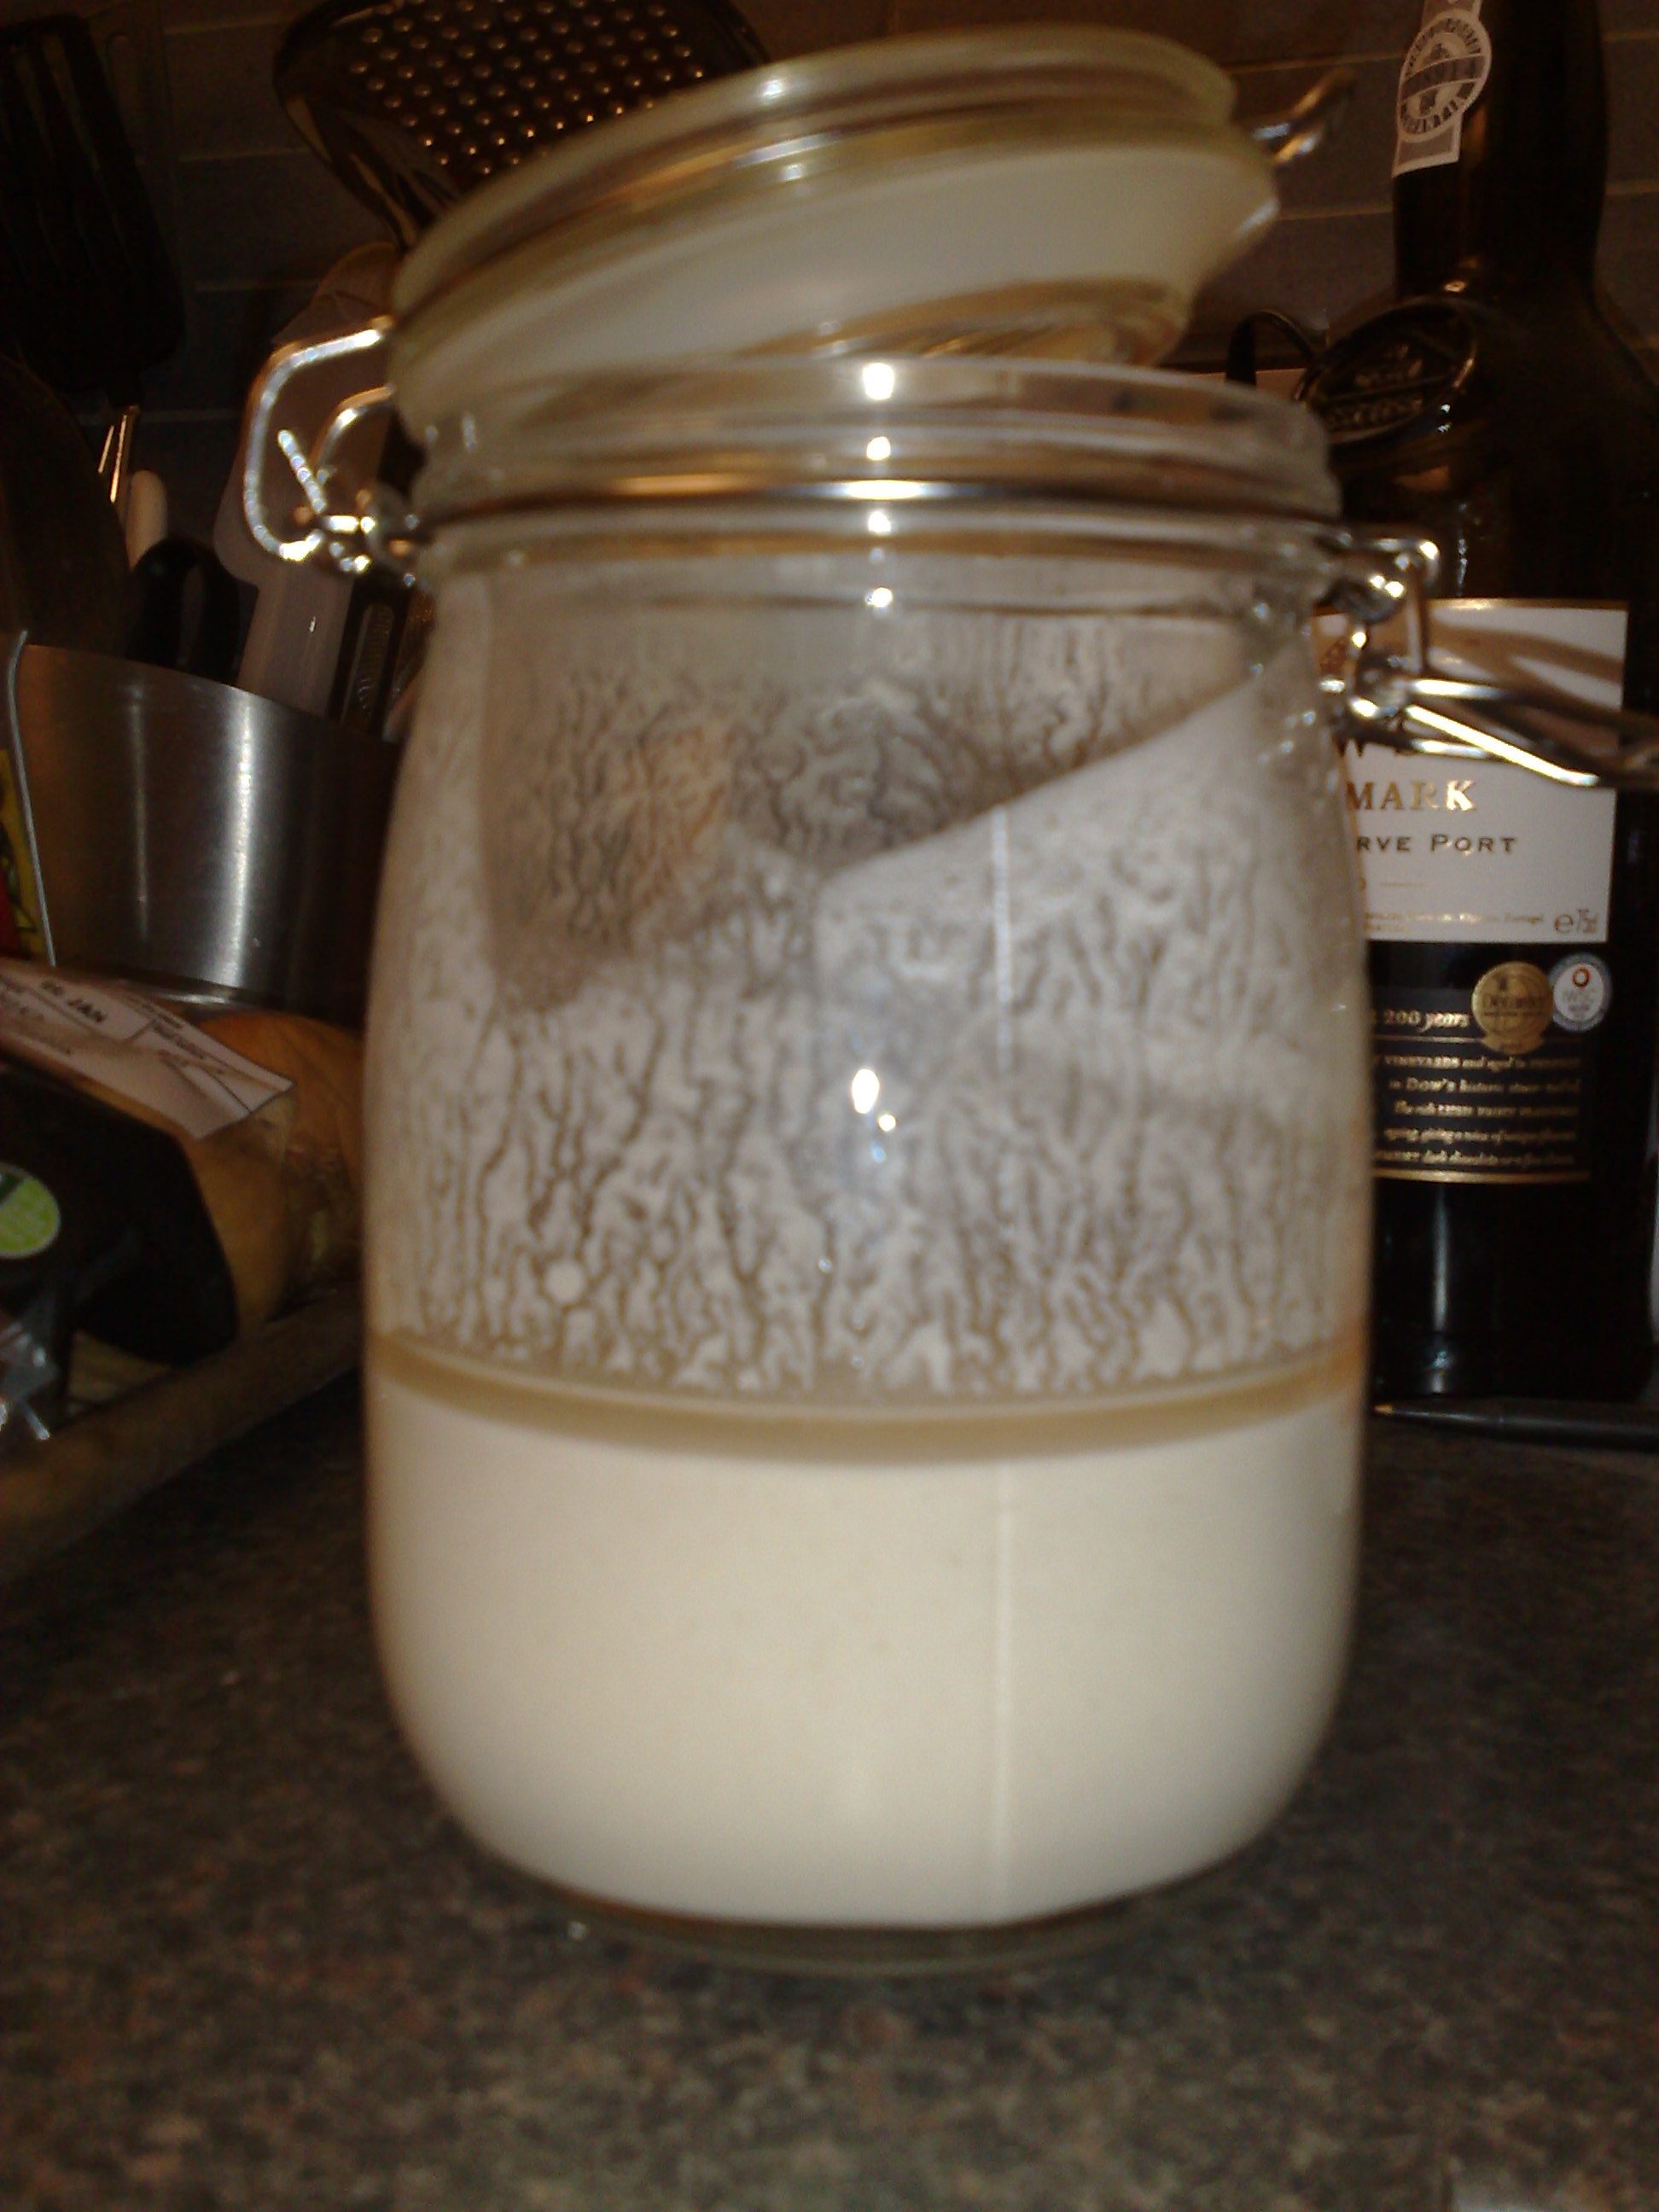
One of the things I saw is that when you’re getting a lot of hootch on your starter (which is a layer of brown liquid on top – and it must be brown, any other color indicates that you’re growing the wrong stuff, and you need to toss your starter and begin again), it means your starter is hungry.
Everybody says to stir it back in, which is fine, but it took a lot of reading before I found out that it means the starter is hungry. I forgot to take a picture of my starter with the hooch on it, but here’s an example from Flickr that looks an awful lot like my starter when I figured out what was going on.
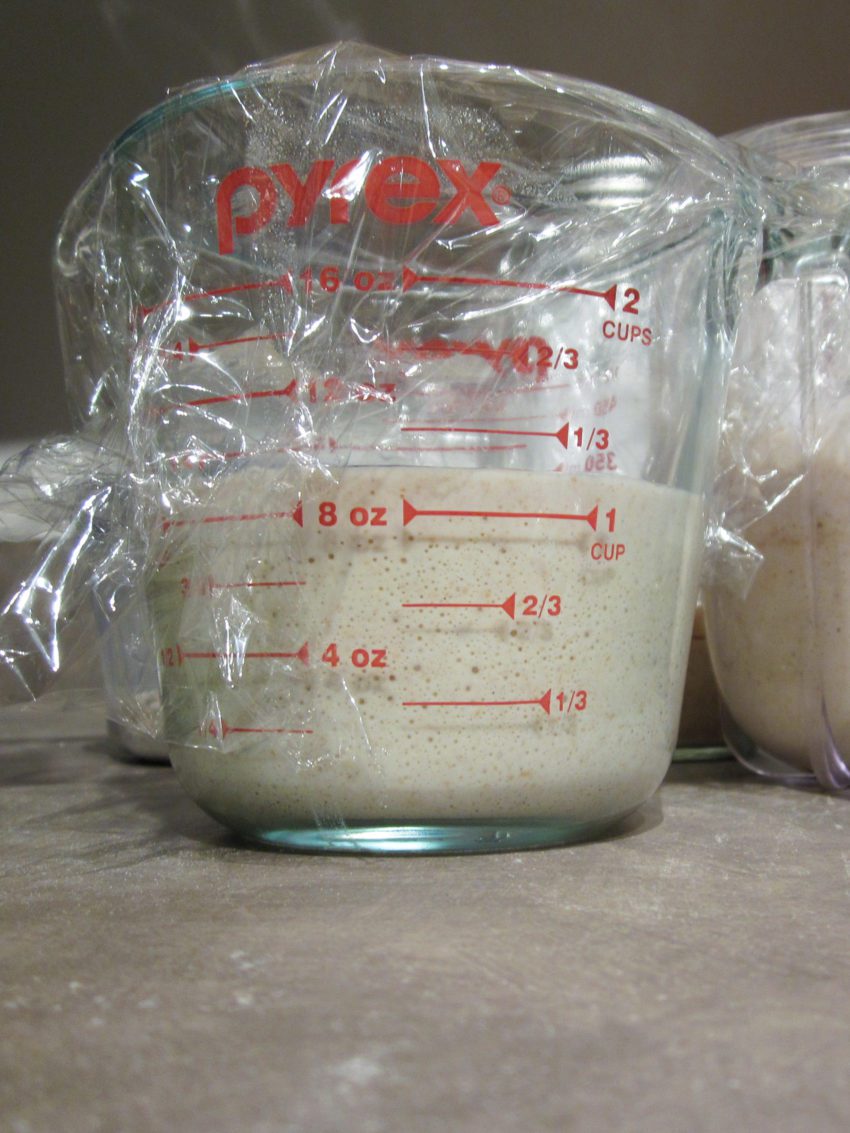
So two weeks after starting, I realized that I had way too much starter in my jar, and that I was underfeeding, and really it’s best to do things by weigh, not by measurement. So I measured out the 1/4th cup of starter like I was supposed to the first time (after I finally figured that part out) and weighed it – mine was 70g. So I poured that into a 2 cup measuring cup so I could better see the activity of my starter, then fed it 70g of flour (which was well over 1/4th cup) and 70g water (which was just over 1/4th cup) and noted the consistency of it.. it’s more like a really thick pancake batter. This is what I wound up with after a proper measuring and feeding:
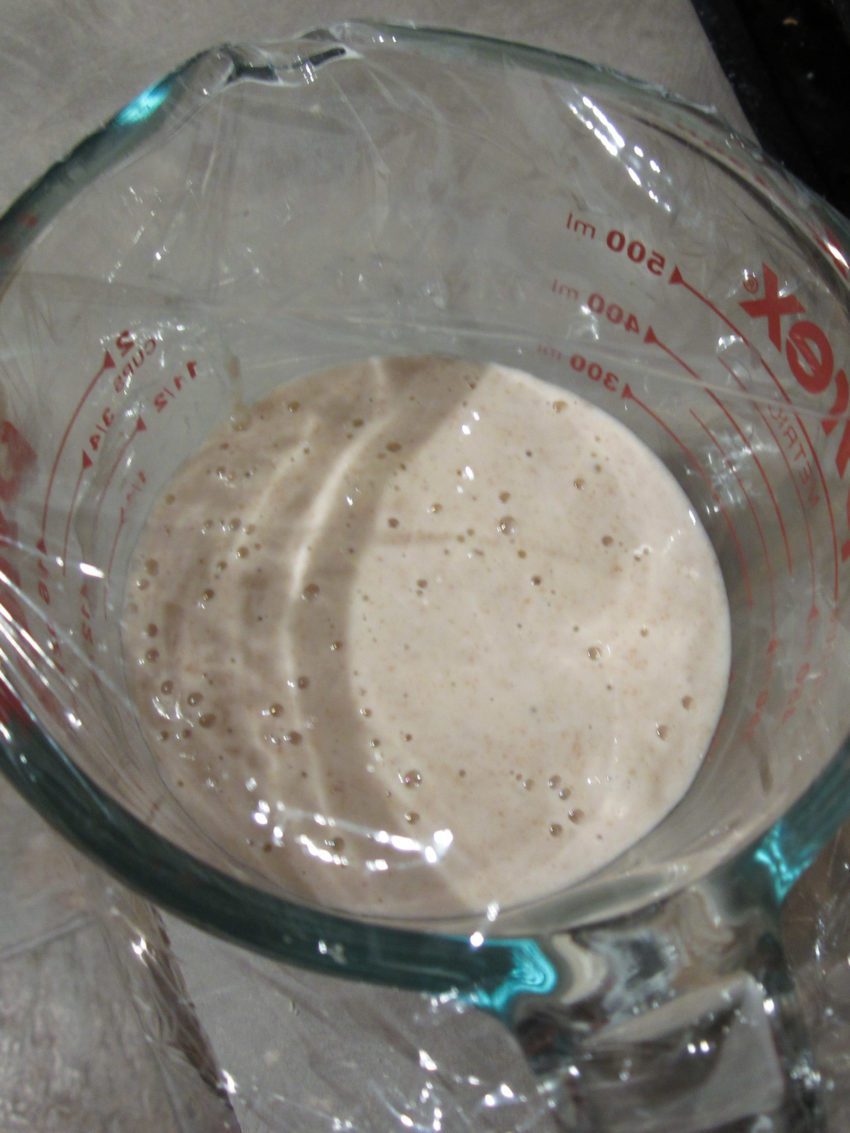
Can I just say that doing it right was like magic? I expected it to take days to get my starter back on track. Turns out I really did have all the right yeasts in there though, they were just hungry. That same day, I had a mature starter. A mature starter will double in size within a few hours – mine doubled in two. This is what I had a couple hours after doing it right:
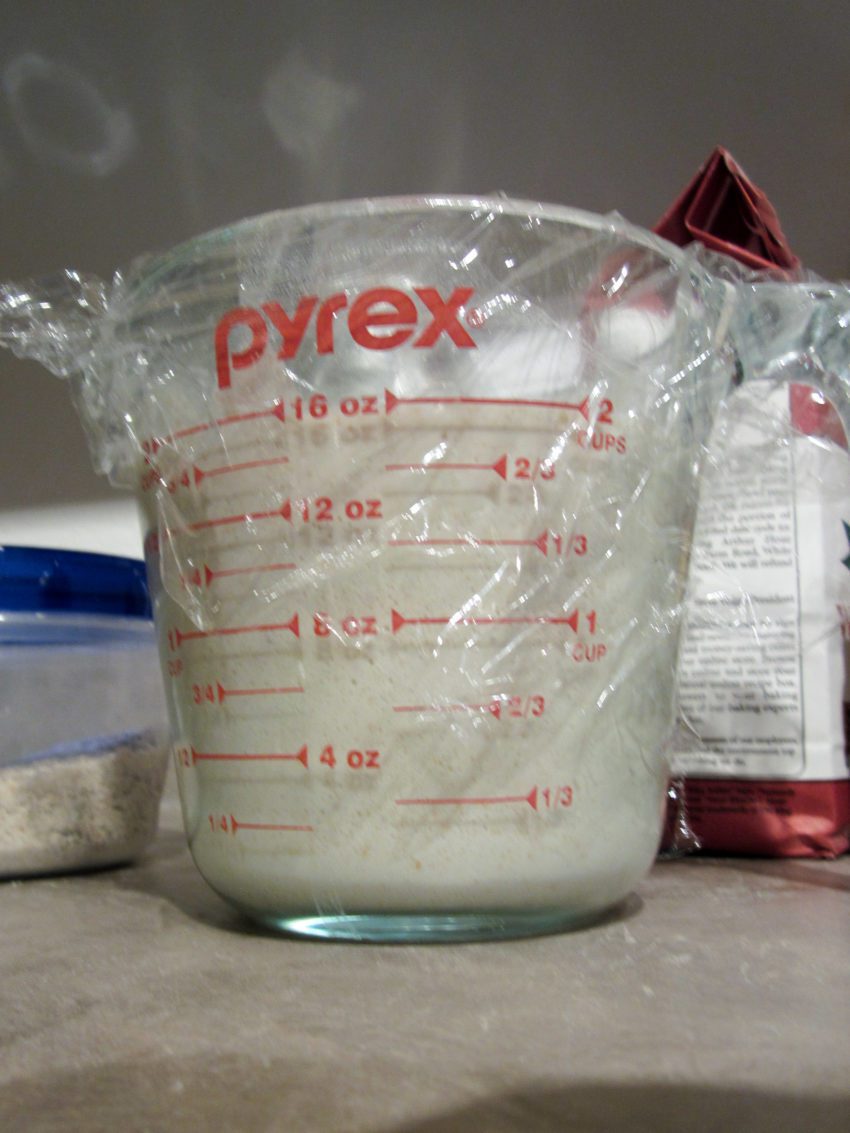
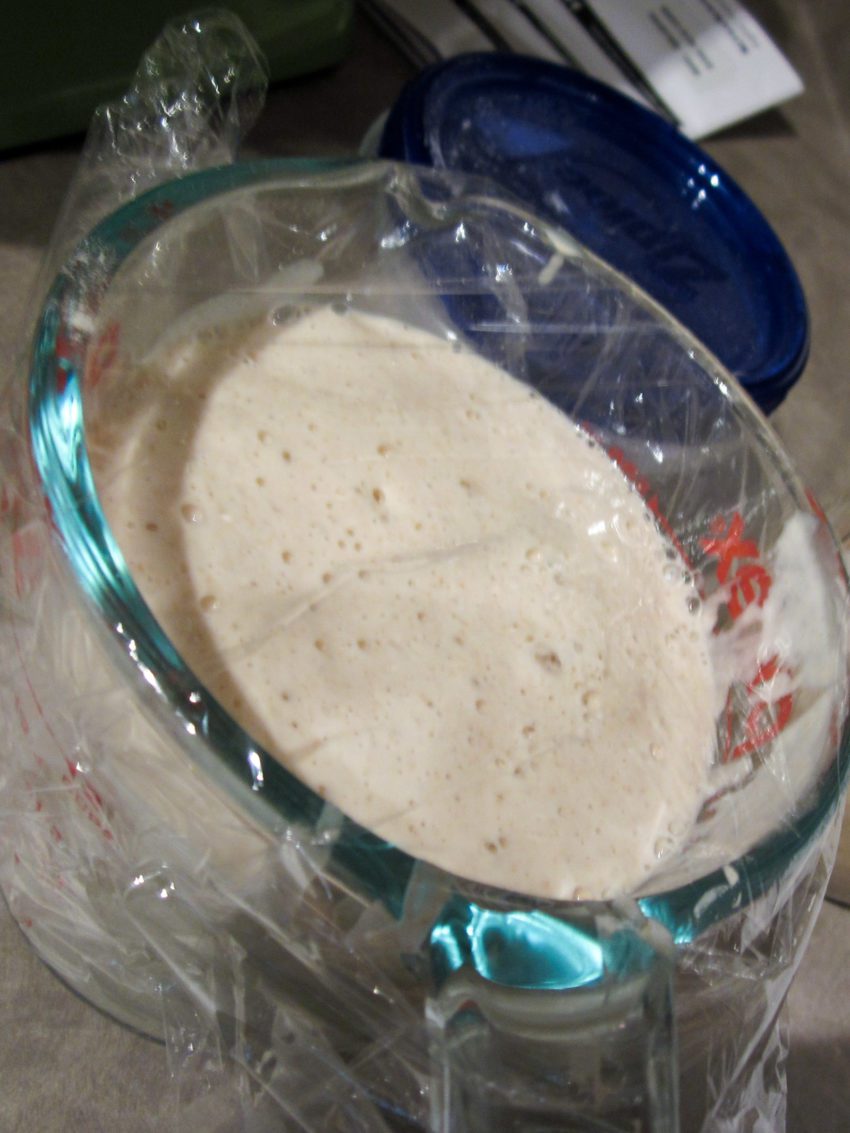
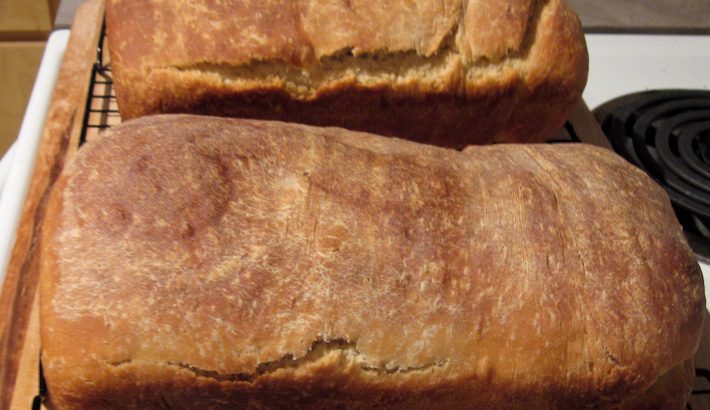
Ladies and gentlemen, it’s a mature starter! I’m so proud of myself. It’s still doing this, but a little slower – that day was remarkably warm in my kitchen. I made a loaf of bread from it, but that’s for another post. This one is already really lengthy! I probably left out some stuff I learned, but if you have any questions about starting the starter, please feel free to ask in the comments.


Leave a Comment